How Legendary French Chef Jacques Pépin Makes A Perfect Omelette
The secret ingredients are butter and charm.
posted on Jan. 13, 2016, at 11:54 a.m.


Lauren Zaser/Alice Mongkongllite / Via BuzzFeed
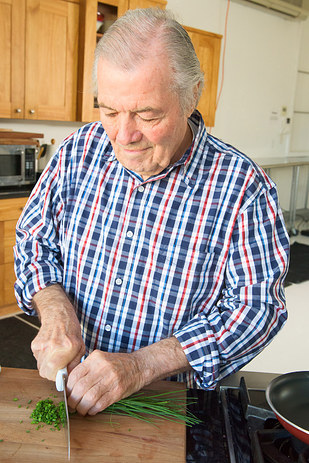
This is Jacques Pépin.

Jacques Pépin / Via Jacques Pépin
Charming AF.
Jacques Pépin is one of the most famous chefs in the world. He basically invented the job of TV chef, was BFFs with Julia Child, and has been cooking professionally longer than most of us have been alive.

Angela Appetta / Via behance.net
Not to mention he’s owned multiple
restaurants, won a James Beard Lifetime Achievement Award, and is
generally just a total badass.
There is literally no one more qualified to demonstrate how to make the PERFECT OMELETTE. This one is the classic French variety, which means you’ll need only eggs, butter, salt, pepper, and lots of fresh herbs.
For the full recipe, jump to the bottom of this post.
Unlike a “Western-style” omelette, this one will NOT be stuffed with cheese and ham, sorry.First, let’s talk about the one tool you really need: the skillet. To make a perfect omelette, you need an 8-inch nonstick skillet. It’s non-negotiable.

You can find one at pretty much any store (Target, Bed Bath & Beyond, Williams Sonoma) and, of course, Amazon.
If you already have an 8-inch nonstick skillet, give it a good look.
If it has lots of scratches and scrapes, you might want to consider
retiring it. That’s it. A skillet and a fork. SO EASY.
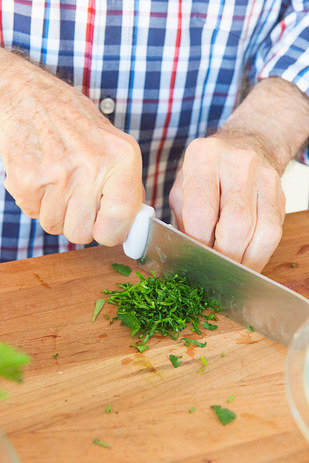
1. To start, chop some herbs. Jacques uses a mix of “fines herbs,” which includes chives, parsley, tarragon, and chervil.
Lauren Zaser
BuzzFeed
You can use any mix of these four, or just one. Either way, you’ll want about ¼ cup of finely chopped fresh herbs total.
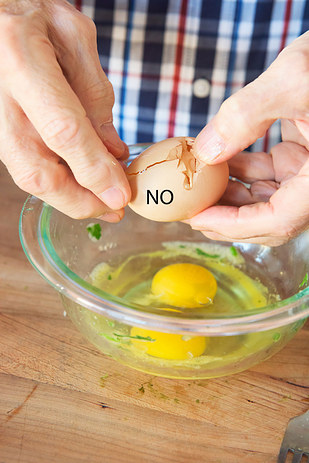
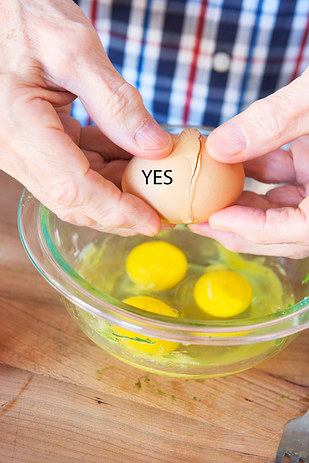
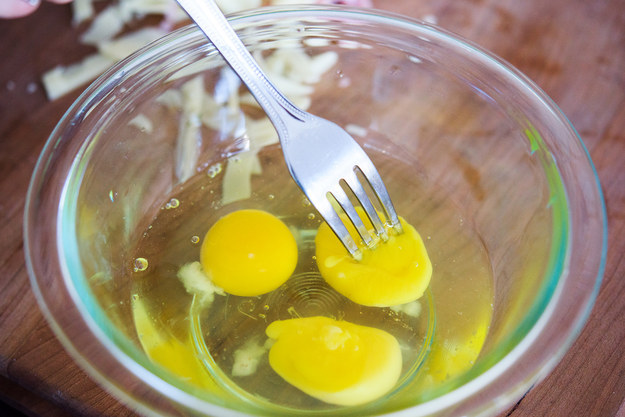
2. Next, crack 3 eggs into a bowl. Jacques stresses the importance of cracking them on a surface (like your counter or cutting board), rather than the edge of the bowl.
Lauren Zaser / Via BuzzFeed
“When you crack on the bowl, the shell gets pushed inside the egg, not good,” Jacques says.
3. Before you whisk the eggs, pierce the yolks with a fork; this makes it much easier to blend everything together.
Lauren Zaser / Via BuzzFeed
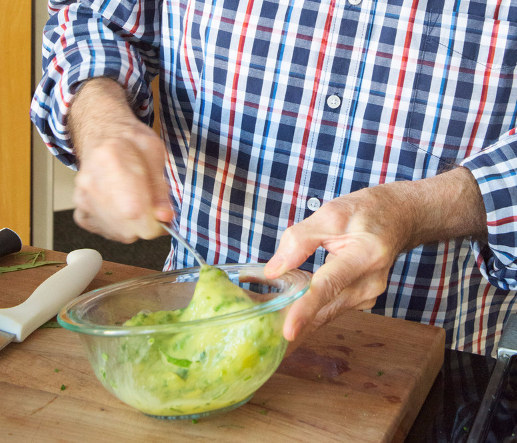
4. Season the eggs with salt and pepper and add the herbs. Whisk everything together super vigorously. “Don’t go slowly here,” Jacques says.
Lauren Zaser / Via BuzzFeed
He uses a fork, which is great because who even has a whisk that tiny? Not Jacques Pépin, that’s who.
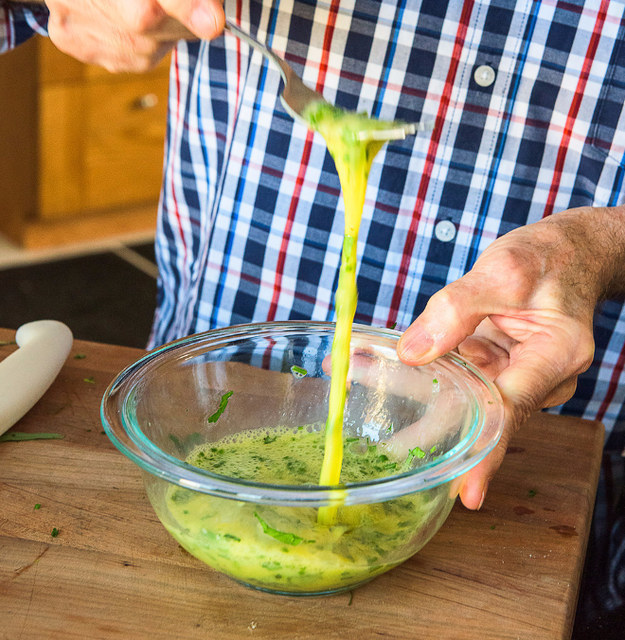
5. The eggs need to be REALLY well-blended. You can tell they are REALLY well-blended when you lift the fork and then the eggs come streaming down, the yolks and whites together in sweet eggy harmony.
Lauren Zaser / Via BuzzFeed
Jacques says: “No streaks of white or yolk! So important.”
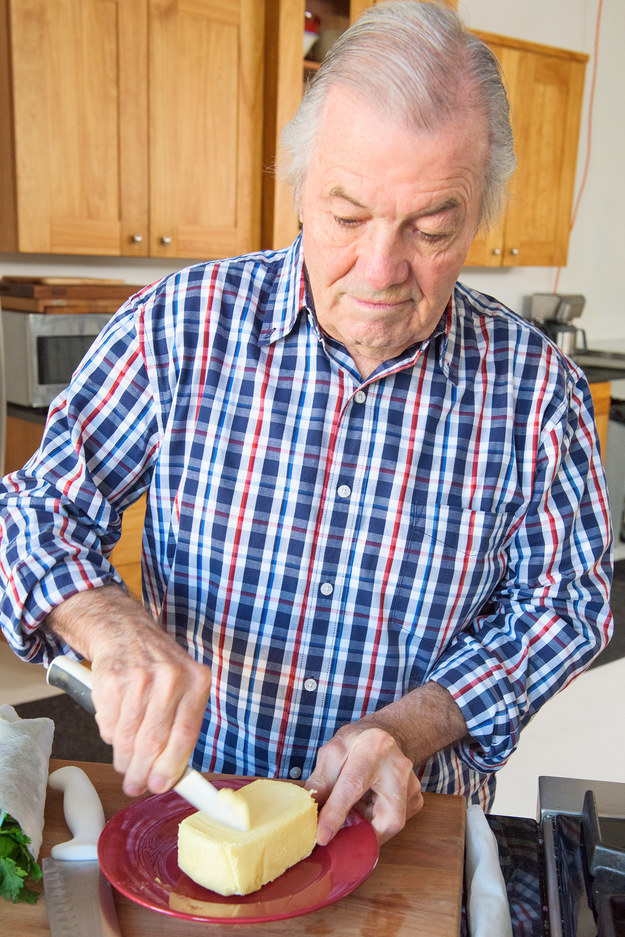
6. Now it’s time to cook the omelette. Like everything great in life, a perfect omelette has lots of butter.
Lauren Zaser / Via BuzzFeed
If possible, the butter should always be unsalted and European-style (that just means it has EXTRA FAT). Plugra, Kerrygold, and Organic Valley make good varieties.
If you’re Jacques Pépin, you might want to shave a little butter off the top and twirl it into a rose.
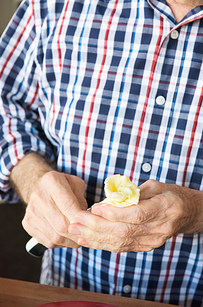
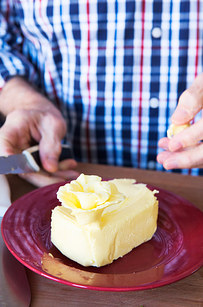
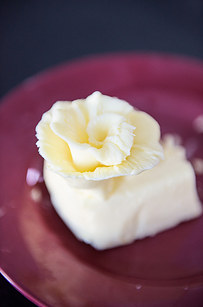
Lauren Zaser
BuzzFeed
Definitely optional.
7. Put the skillet over medium heat and add about 2 tablespoons of that butter. The butter should sizzle a little, but not furiously. It should melt quickly.
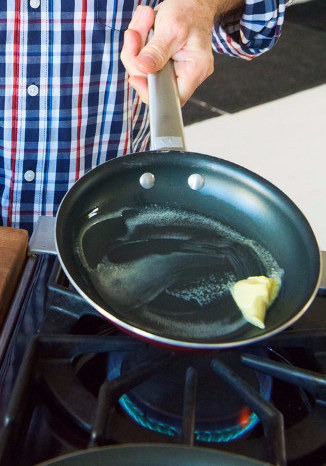
Lauren Zaser / Via BuzzFeed
Pro tip: If the skillet gets too hot, just remove it from the flame — do not adjust the flame itself.
8. Add the eggs to the skillet all at once, scraping out every last bit with the side of the fork.
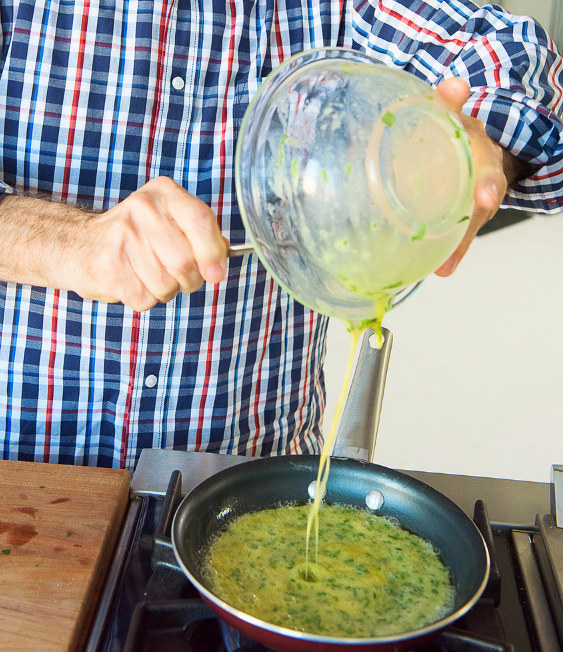
Lauren Zaser / Via BuzzFeed
9. Now: Start whisking with the fork. The eggs will start to cook almost immediately, so you need to keep your fork moving AT ALL TIMES.
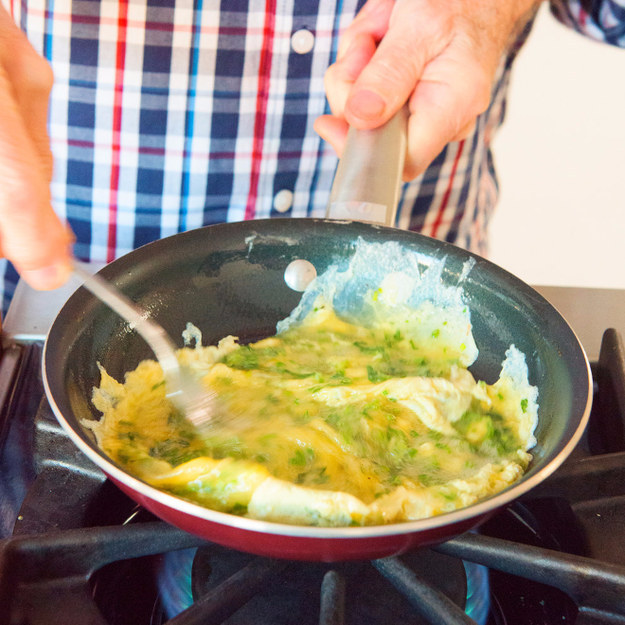
Lauren Zaser / Via BuzzFeed
This means scraping the bottom and
sides of the skillet with the bottom of the fork. You’ll notice this
start will to look like scrambled eggs, which is what you want.
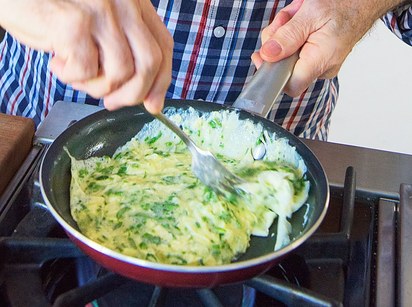
10. You should also shake the skillet occasionally to help move the eggs around.
Lauren Zaser/Sarah Kobos / Via BuzzFeed
Remember, the eggs will start to cook
around the edges first, so it’s important to clean the sides of the
skillet and bring that cooked egg into the center.
11. After a few seconds the eggs should be mostly set, but still a little wet and custardy.

Lauren Zaser / Via BuzzFeed
A good way to test this is to drag the fork in from the side. The eggs should hold together.
12. REMOVE THE SKILLET FROM THE HEAT NOW!
You want the eggs to stay creamy and you don’t want them to brown on the bottom.
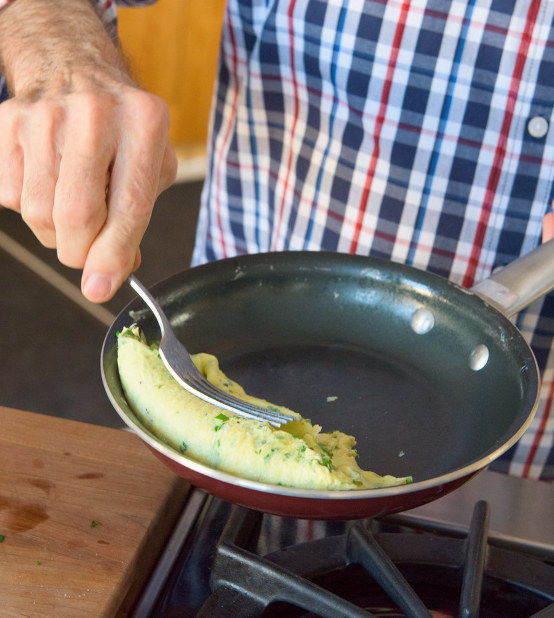
13. Next, starting at the end closest to the handle, use the fork to start to rolling the omelette onto itself.

Lauren Zaser / Via BuzzFeed
“Just like rolling a carpet,” Jacques says.
Because you’re using a nonstick skillet, the eggs should peel right
up, but if they do stick, you can add some butter to help them release.14. OK, so now Jacques does something really next-level. In order to make the omelette perfectly fat (instead of flat), he hits the skillet handle with his palm while tilting the skillet up, so the omelette flips up onto itself, compacting it.
Lauren Zaser/Sarah Kobos / Via BuzzFeed
He has done this about a million
times in his life, so it’s pretty easy for him. For someone who *hasn’t*
(me?), this is kinda tricky and may take some practice. The good news
is that this is optional, and even if you don’t master this part, the
omelette will still taste 100.
15. Now, if you can’t do the whole handle-flip thing, use your fork to fold the other side to meet the first side in the middle. This is a JUDGMENT-FREE ZONE.
Lauren Zaser / Via BuzzFeed
16. Tilt the plate to meet the skillet, so the omelette gently lands on the plate, SEAM-SIDE DOWN. (The seam is where the two edges meet.)
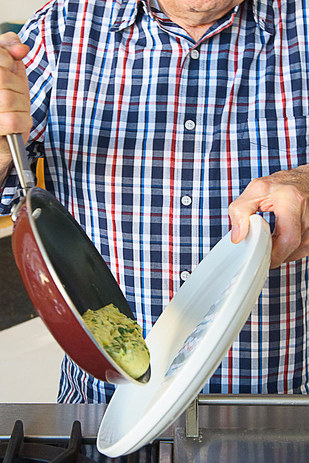
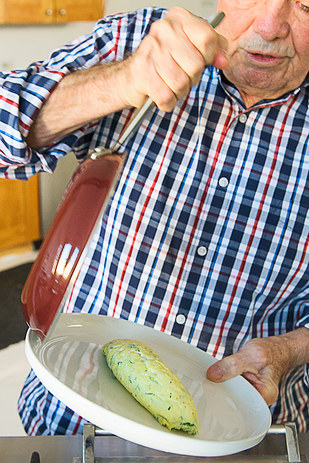
Lauren Zaser / Via BuzzFeed
17. Then go ahead and give it a little tuck-in on the edges, so it keeps its cute, tapered, torpedo shape. And see? No browning.
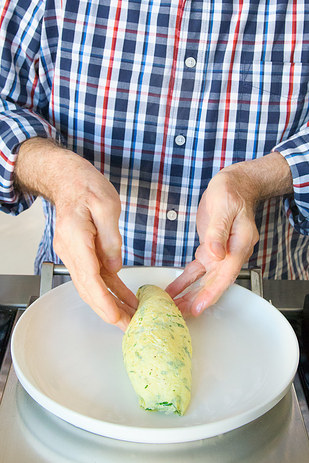
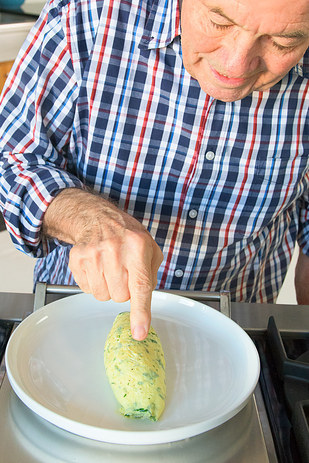
Lauren Zaser / Via BuzzFeed
Goodnight, little fella.
18. It should still be *slightly* runny/creamy in the center, which means you might see some egg seep out, but don’t be afraid, that’s how it’s supposed to be.

Lauren Zaser / Via BuzzFeed
JACQUES SAYS SO.
THE PERECT OMELETTE.

Lauren Zaser / Via BuzzFeed
Jacques Pépin’s Iconic French Omelette
Recipe by Jacques Pépin
Makes 1
2 Tbsp. finely chopped chivesMakes 1
1 Tbsp. finely chopped tarragon
1 Tbsp. finely chopped parsley
3 large eggs
Kosher salt and pepper
2 Tbsp. unsalted butter
Using a fork, whisk the herbs and eggs together in a bowl until they’re really (really) well-blended. This means there should be no strands of egg yolk or egg white, just homogenized egg. Season with salt and pepper.
Heat an 8-inch nonstick skillet over medium heat. Add the butter; it should barely sizzle but melt immediately. (If the butter sizzles loudly and foams up, the skillet is too hot. Remove it from the heat for a second to let it cool down.)
Add the eggs to the skillet, and using the flat side of the fork, immediately start whisking and stirring the eggs from the edges to the center, shaking the skillet occasionally. Do this for about 45 seconds. The eggs will start to look like a soft scramble. Once the eggs are mostly set but still look soft and slightly wet, remove the pan from the heat.
Using the fork, start at the side closest to the handle and start rolling the omelette onto itself, like you’re rolling a carpet.
Once you’re about halfway there, start rolling from the other side to meet in the middle. Because you’re using a nonstick skillet, this should be pretty easy. If the egg sticks a little, add a little more butter to help it along.
Flip the omelette onto a plate, seam-side down. If it doesn’t come out in a perfect shape, NBD, just kinda tuck the sides in to keep a nice torpedo shape.
Eat immediately!
Jacques Pepin
Cooking Tricks